First steps
The overview screen and the tutorial
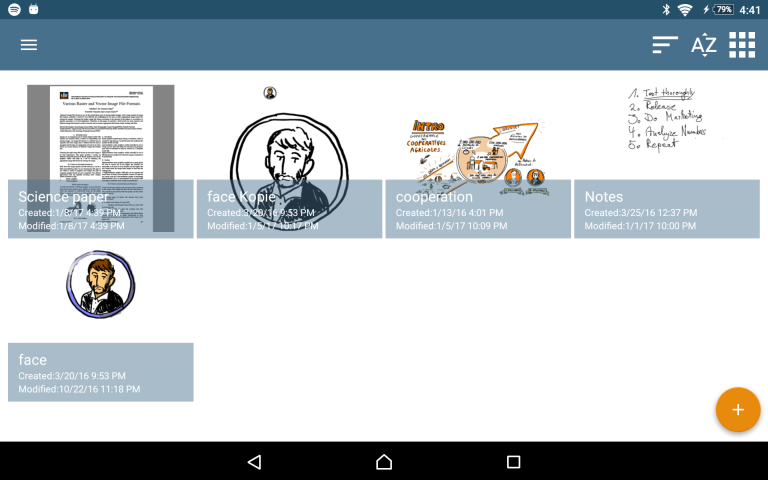
After starting HandWrite Pro, you see an overview of all documents. In the beginning there is only the tutorial. Load the tutorial or any other document by tapping on it. You can sort your documents by date or name, ascending or descending by using the icons in the top bar.
Start a new document
If you want to start a new document, tap on the "plus"-button in the lower right corner. You can choose between a new, empty document, or import a PDF or SVG file.
The drawing screen
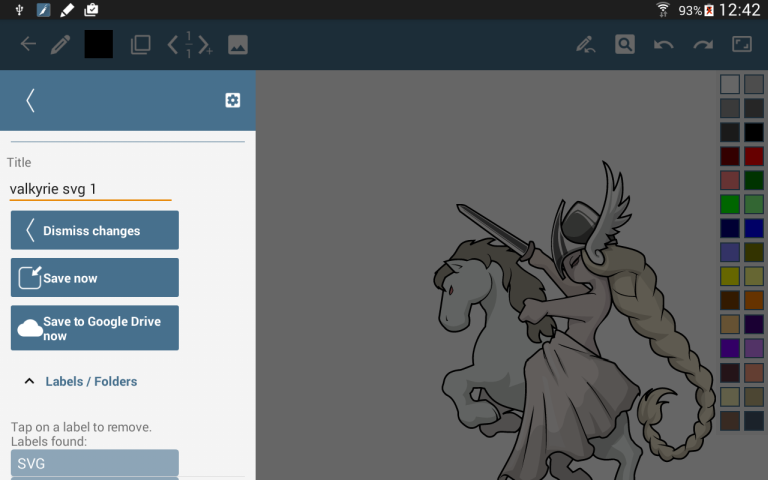
You can set up your new document by tapping on the menu button in the top right corner of the screen. You can set a name for your document here, set the paper size and so on. If you associate tags with your current document you can filter by a tag in the overview screen.
Drawing
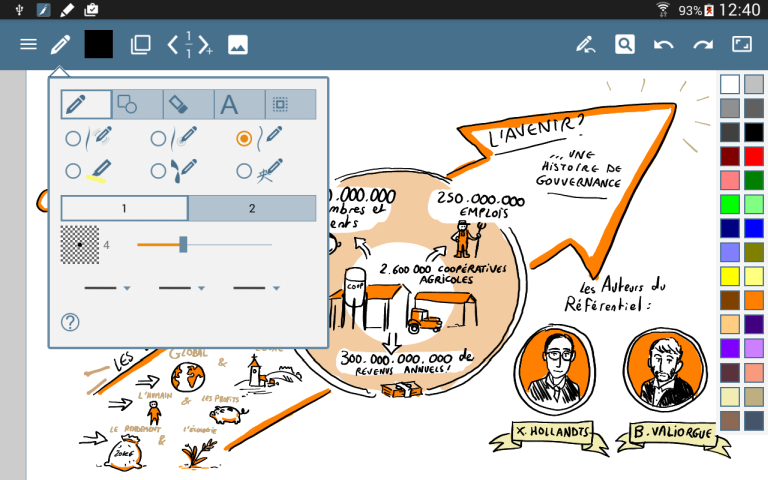
You can start drawing right away. If you have a device with a stylus you might want to open the pen settings  first to check "Stylus only" to avoid drawing accidential lines with your finger. This option is hidden in the second tab of the pen settings popup.
Zooming and moving
You can zoom in or out with the "pinch gesture". Use two fingers and move them closer together or further apart. To move the canvas you have to move two fingers closely together.
Reset the zoom in the settings.
Saving
If you want to exit and save your work just hit the "back" button. Your work will automatically be saved if you leave the drawing screen. If you don't want to leave tap "save now" in the menu.